
There is virtually nothing that can get more classic than a sleek winged eyeliner (also known as a cat eye), but consistently nailing that look can be a struggle for most girls. How many of us have spent a great amount of time in front of the mirror trying to get both lines to match up, seeing it get thicker with the mistakes we make, and eventually rubbing it all off and swearing to give up on eyeliner?
We heard your cries for help, and we’re here to break it down with five reasons on the mistakes you’re making in the quest for the perfect winged eyeliner:
1. You don’t know your eye shape

Not all eyes are created equal, and the first thing you should do is to understand your specific eye shape. This first step makes everything so much easier as you can then customise your eye liner according to your eyes.
For example, you likely have hooded eyes if the crease of your eyelid can’t be seen, which means you should begin the tip of the wing where your lid hood start, to ensure it’s not hidden by your lid.
But if you have very minimal or no crease, you likely have monolids. To maximise lid space, make sure your liner is neat and straight by drawing from the middle of your lids to the outer corner first, and then draw from the inner corners to meet at the middle point.
Not sure what eye shape you are? Check out this handy infographic!
https://www.instagram.com/p/B0iICmSDYye/?utm_source=ig_web_copy_link
2. You’re not using the right eyeliner formula

There are plenty of formula choices out there, so use the appropriate one that corresponds with your winged eyeliner expertise level!
If you’re a newbie, jumping straight in to liquid liner may not be the best decision. Instead, start off with a pencil eyeliner, which allow for more wiggle room when mistakes happen. But if you’re hankering after a bold look or you’re ready to level up, look towards gel liner as the formula is softer, and more forgiving than liquid liner. Or, get the best of both worlds with a liquid eyeliner that comes in a felt-tip applicator. The tip allows for better control, helping you perfect that cat eye!
3. You pull your eyelid when drawing
https://www.instagram.com/p/BrmBtQ2gRt_/?utm_source=ig_web_copy_link
It may seem natural to pull your skin taut while drawing your eyeliner, but doing this causes your liner to go wonky once you let go! When you pull on your eye while drawing and release after you’re done, the skin and eyeliner goes back to its original position, resulting in uneven lines and textures – not a good look! Instead, lean your head back and hold your mirror downwards if you need a better look while drawing.
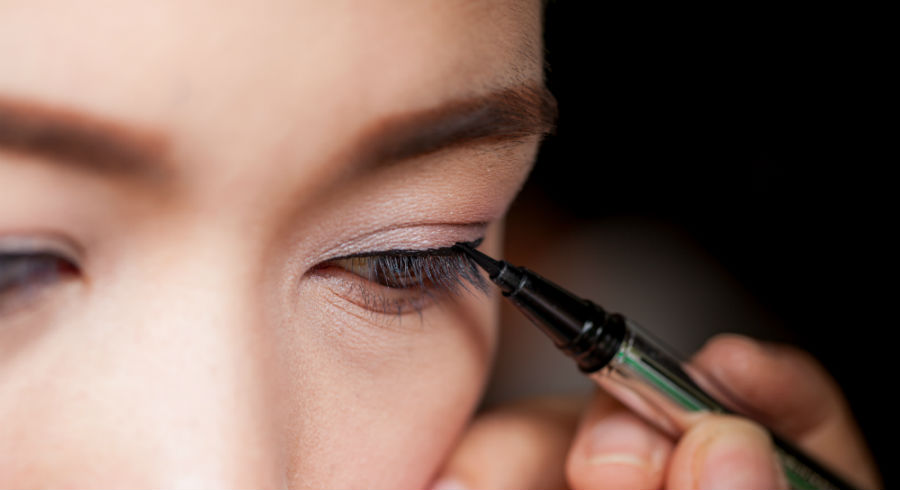
4. You close your eye when drawing

If you often find your eyeliner lopsided and uneven, you might be closing your eyes too much when drawing them. You might have drawn them perfectly on both eyes, but realise they are uneven after completing.
Here’s why this happens: our eyes are not perfectly symmetrical, and when you close them when drawing, you’re not drawing the liner to suit the placement of your eyelid crease. You can’t see where the crease sits when your eye is closed, resulting in uneven liner. Thus, to keep your eyeliner on fleek, be aware of your crease placement and constantly check for balance as you draw instead of drawing while you keep your eye shut.
5. You flicking winged tip away from eye

Instead of working your eyeliner from the inner corner of your eye and flicking the tip out as you reach the outer corner, it’s actually much easier to do it the opposite way!
When you begin drawing the flick towards your eye rather than away from it, it gives you more control as it creates a “blueprint” you can work with before committing to drawing the entire line. Try beginning by drawing a diagonal line from the corner of your eye, leaning upwards towards your eyebrows. This helps you “plan” the angle and shape of your flick, giving you a template on how to fill in the rest of your winged flick!


