

We’ve been fans of singer and actress Rainie Yang ever since we saw her in dramas like Meteor Garden and Meteor Rain more than 20 years ago.
She’s always been highly fashionable and fond of elegant and chic styles. Nowadays, she’s rocking sleek shoulder-length hair, which she usually has tied in a bun.
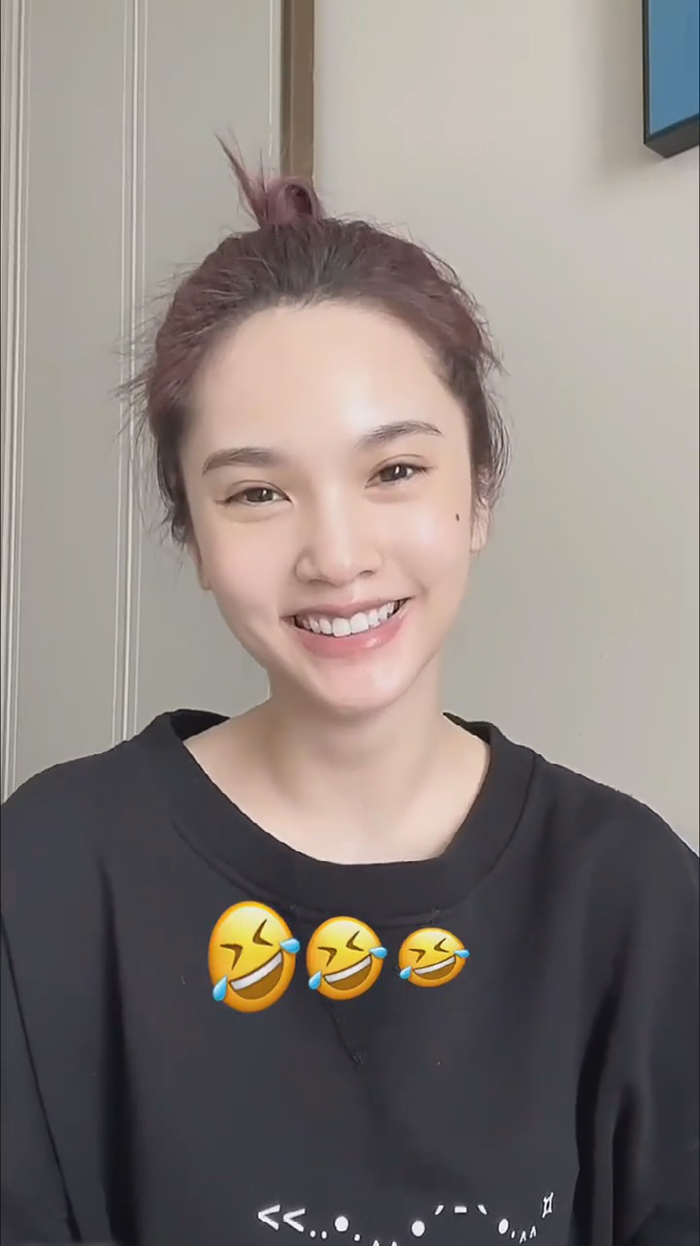
Doesn’t she look cute in her signature bun? One must wonder though, how can she do it with such short hair?
Thankfully for us, Rainie has shared a tutorial on how to do her signature bun with short hair, and we’ve compiled all the steps right here.
Step 1: Prepare your tools

You’re going to need to prepare two scrunchies, and it’s important to pick the kind that doesn’t pull on your hair.
Other than this, you’ll need a comb. If you don’t have one, your hands will make do, as it can look more natural and effortless that way.
Step 2: Grab the top part of your hair

Here’s the trick to Rainie’s signature bun: it’s actually two buns!
Looking from the back, you’ll be able to notice both. From the front though, it looks like a single bun.
So, you’re going to want to part the top part of your hair. Depending on how you like it, you can choose to part it from above your ear or higher up.
Comb your hair down, but don’t hold it too tight, or else it’ll look flat and not as nice.
Regarding the tip earlier on using your hands as a comb – your hair is less likely to look flat this way and will not only look put together, but it will also look natural.
If you want to, you can totally adjust your hair later on instead.
Step 3: Tie the top part of your hair

The next step is to tie up the top part of your hair.
After wrapping the scrunchie around, you’re going to want to save the last loop and tuck your hair inwards and downwards as pictured above.

Notice how it looks like a single bun from the front? You also adjust your hair after this if it feels or looks too tight.
There’s also no need to worry if you’ve got a lot of short baby hairs sticking out, as it gives it a natural vibe.
You could totally walk out with this adorable look as is, but we know that’s not what you’re here for, so onward to the next step!
Step 4: Grab and tie the lower part of your hair

Grab the lower part of your hair and form a ponytail with it before grabbing your second scrunchie.
Following the same step earlier of saving the last loop of your scrunchie and tucking your hair in, create a second hair bun.

This is what it will look like when you’re done. You will have two buns on the back of your head, one on the top, and one on the bottom.
If you’re only looking from the front though, you’ll see the top one only, giving the illusion of a single bun.

The great thing is it’s so practical, you can wear your hair like this for almost any occasion be it sports or a day out with friends.
Wasn’t it super easy as we mentioned? Now it’s time to go out rocking Rainie’s look.
Featured image credit: RED


